This week we have been focusing on camera basics, and how to use our camera.
I visited some of my classmates’ reflective journals and I was surprised to see that so many of them had such expensive and advanced cameras. Personally, I don’t enjoy photography as much as I enjoy many of the other aspects of graphic design and art. It is possibly the form of art I care the least for. Or maybe not the least, but I certainly consider most other creative outlets more interesting and important. But that is just my opinion. So bearing that in mind, I haven’t exactly used every minute of my time on these assignments, which I guess shows in the quality of my photos.
This first assignment was to name all of the functions and explain the buttons on the front and back of my camera. I have a Sony Nex 6 camera, a compact digital camera.
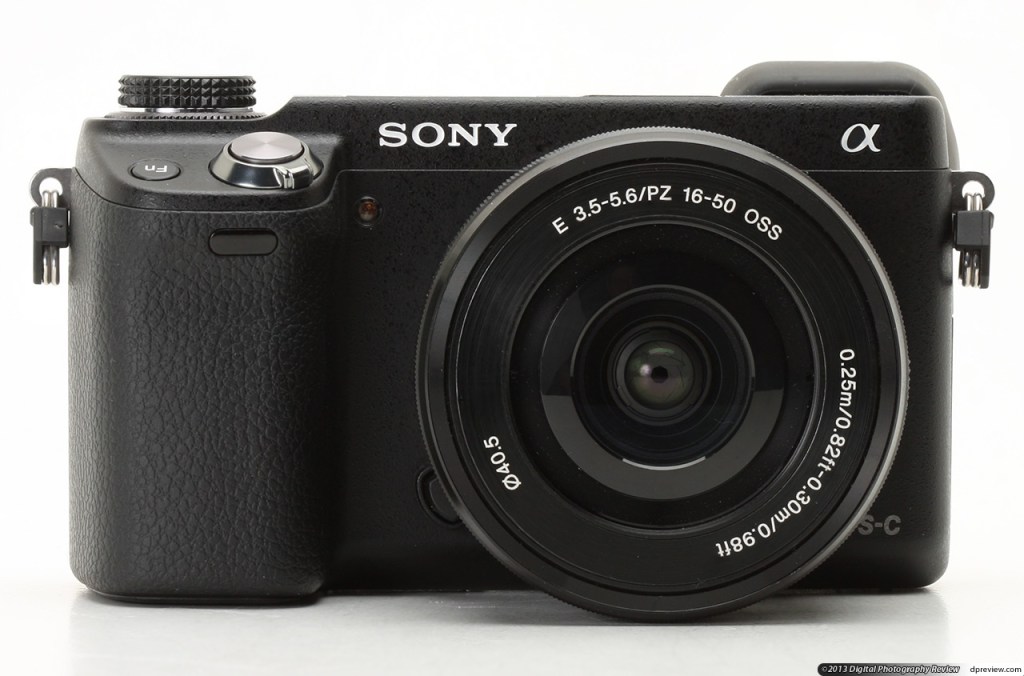

I found a manual online which shows the different buttons and their function.


Some of the settings can be seen on the top of the mode dial.
SCN – Scene selection: Selects a mode suitable for the subject you want to capture and the enviroment.
The icon of the green camera – Intelligent auto: Allows the device to auto shoot.
The icon of the yellow camera – Superior auto: The device shoots automatically while reducing blurring and noise.
P – Program auto: Automatically sets aperture and shutter speed. Other settings can be set as desired.
A – Aperture priority: Adjusts aperture to change the range in focus and amount of background blur. Small value blurs the frond and back and large value makes even the background in focus.
S – Shutter priority: Adjusts shutter speed to control how moving objects are captured. Faster speed to appear momentarily stopped. Slower speed to capture traces of movement.
M – Manual exposure: Adjust aperture and shutter speed manually.
Rectangle icon – Sweep panorama: Creates a panoramic image while you move the camera left or right or up/down at a fixed speed.
The way to change the ISO settings on my camera is to press the right side of the control wheel, and adjust the ISO value. Changing the ISO settings affects the sensitivity to light of the image sensor inside of it. The only cost of increasing ISO is that as you do it you’ll notice that the ‘noise’ or ‘grain’ in your shots also begins to increase. Usually the best bet is to keep your ISO values as low as possible. This way you decrease the risk of noise in the image. But there are times when you are forced to use high ISO because the enviroment does not have enough light. For sunny or bright days, I would use a low ISO such as 100. As the light level reduces trough the day, I would raise the ISO level. On cloudy days I might use 400 and at night or dark days I would set the ISO to 1600.
The aperture is also known as f-stop and it determines how much light passes through the lens at once. A large number makes the size of the hole that allows light to enter the camera through the lens become smaller. For my camera, I would usually use the secondary dial on the top. But I have quite a unique camera setup, because I use an old 50 mm Leica Summicron lens which I bought online many years ago. To be able to use the lens, I bought the Sony Nex 6 camera, because it was possible to buy an adapter from a third party company that made it possible to use the Leica lens on the Sony Nex 6. The problem with this setup is that you have to forfeit some of the features of the camera, because the lens isn’t designed to fit the camera. So for instance I have to focus everything manually. Also the aperture has be changed by physically turn the top part of the lens. My lens has an aperture range from 2 – 16.
Shutter speed controls the lenght of time that light is allowed to pass through the lens and hit the sensors. Faster shutter speed freeze moving subjects. Slower shutter speed create motion blur from the moving subjects. On my camera, the way to change the shutter speed is to rotate the control wheel. Up for faster speed and down for lower speed.
The second assignment was to take six photos in with different exposure values. I chose to stay at home and take the photos, so I can’t say they are terribly exciting. I took some simple macro images with a low aperture, low ISO and low shutter speed. I changed some of the values, depending on the levels of light and desired effect, but I stayed mostly with similar values. I wasn’t able to get a good photo to display motion blur, so I chose not to include that. But I feel that the depth of field in some of the images turned out quite good.

Aperture: 4
Shutter speed 1/30

Aperture: 2.8
Shutter speed 1/25

Aperture: 2
Shutter speed: 1/30

Aperture: 8
Shutter speed: 1/50

Aperture: 2.8
Shutter speed: 1/4

Aperture: 8
Shutter speed: 1/25

Aperture: 2
Shutter speed: 1/30

Legg igjen en kommentar