Intro
This task forced me to use unusual and creative ways of working. I almost never use physical materials to create artworks, like pen and paper. I’m used to focusing solely on digital art. My final images delivered in this assignment looks a little different than what they would have if we were able to do this purely digital, but I guess that was kind of the point. In this report I will write about my understanding of the assignment, my research into the wild world of gestalt theory and how I used these principles and ideas to create my own illustrations.
The nine design principles was really fun to learn about. I have dabbled in psychology before, so I am familiar with gestalt theory. But I have never thought that those crazy germans were so spot on about visual thinking and design, that we would be using their ideas and theories decades later. The principles makes a lot of sense when you think about them, and after I researched the nine principles, I started seeing them used in various famous logos. So I became more aware of their importance when creating logos or other art.
The assignment was very straight-forward and easy to understand. Research and learn about all nine principles, and choose three of them that stand out to you, or resonate more with you. I guess I chose the three I did because of several factors. First, I wanted to create something I would be able to do with regular paper and scissors. Secondly, I immediately got some ideas after viewing some pictures online, so I acted on those ideas and developed my concepts from those initial ideas. Also I chose three of the design principles that appealed to me most. That’s not to say I didn’t care for the others. It just fit the sense of style I wanted to use.
Research
The nine gestalt principles of design
The word «Gestalt» is German, and means «shape» or «form». In design, it tells us how our eye and brain reads visual information and how to use this knowledge to our benefit. Often the word is usually used to describe a pattern, shape or figure that is perceived as a unified whole, comprised of other individual elements. This psychological way of perceiving form can be used to make striking and clever designs. From birth, human beings will prefer to perceive the world in the most basic way. In short, a unified complex form can be made from many different simpler individual elements. The nine design principles of gestalt theory are guides to use the human minds ability to read and perceive patterns to create art.
These laws can help designers by utilizing knowledge of the eye and brain and how it reads and decodes visual stimulus. Gestalt Principles have been used successfully in advertising and other creative mediums, and have been used to create some of the most famous logo designs in the last century. I will show some of them in this report, and show multiple examples of the different principles. Many of these laws tend to seem similar and some of the examples can be said to combine principals to achieve the desired effect. In the following pages in this report, I will be presenting each of the nine design principles. Each principle have been given their own page, to make it easier to read, but also to skip if you don’t want to read about them. I refer to the gestalt principles as both laws and principles in this report. They are essentially the same, I just didn’t want to use the same word a zillion times.
The law of proximity
We tend to see shapes that are close to each other as a larger whole, If the visual elements are in close proximity, we will see the unified shape first, before we analyze the shapes that actually make up the shape.

The image above is comprised of different types of shapes, some of them with different sizes. Because these shapes are grouped together, our brain will perceive them as a unified image. This is the reason why you can see this image and immediately understand that you are looking at the corner of a building. But in reality it is not a corner, but a seemingly random collection of figures. Our brain wants to make sense of the image, and interprets this as a wall. Objects are perceived as a larger whole and related to each other by spacial grouping. Here are some other examples:


The law of pragnänz
Pragnänz means something along the lines of «concise». Humans tend to perceive an image in the simplest way possible. Familiar and simple shapes like triangles or squares are so imprinted in our mind from an early age, that they are rarely interpreted as something else.

In the image above, you can clearly see that it depicts a three-dimensional cube. The shape is not actually there. The image is comprised of eight circles which again are made from three different and smaller shapes. The negative space is used to create the cube because this is the easiest way to discern visual meaning from this image. Here are some more examples of this design principle:


The law of closure
Closure is an often used principle in logo design. The idea of this law is that the mind often fills out missing information when it comes to shapes and images. This way you can utilize the negative space in the structure. Closure is in many ways similar to pragnänz in that it tells us that the human brain will look for the most simple solution to complete the image. Even filling out the gaps where nothing actually exists.
This logo from the World Wildlife Fund is a prime example of closure. On the top, there are three major gaps in the logo. As you can see, there is actually nothing there, it is just white space. But our minds want the figure of the panda to be complete, so our brain automatically fills in the gaps. Here are some more examples:

The law of similarity
Similar elements are perceived as a complete picture, shape, or form. This is true even if the elements are individual. Similarity is influenced by the shape, size and even the color of the elements. This principle shares traits with pragnänz and proximity. Similar shapes can make a different shape or structure because the human brain sees them as related to each other.
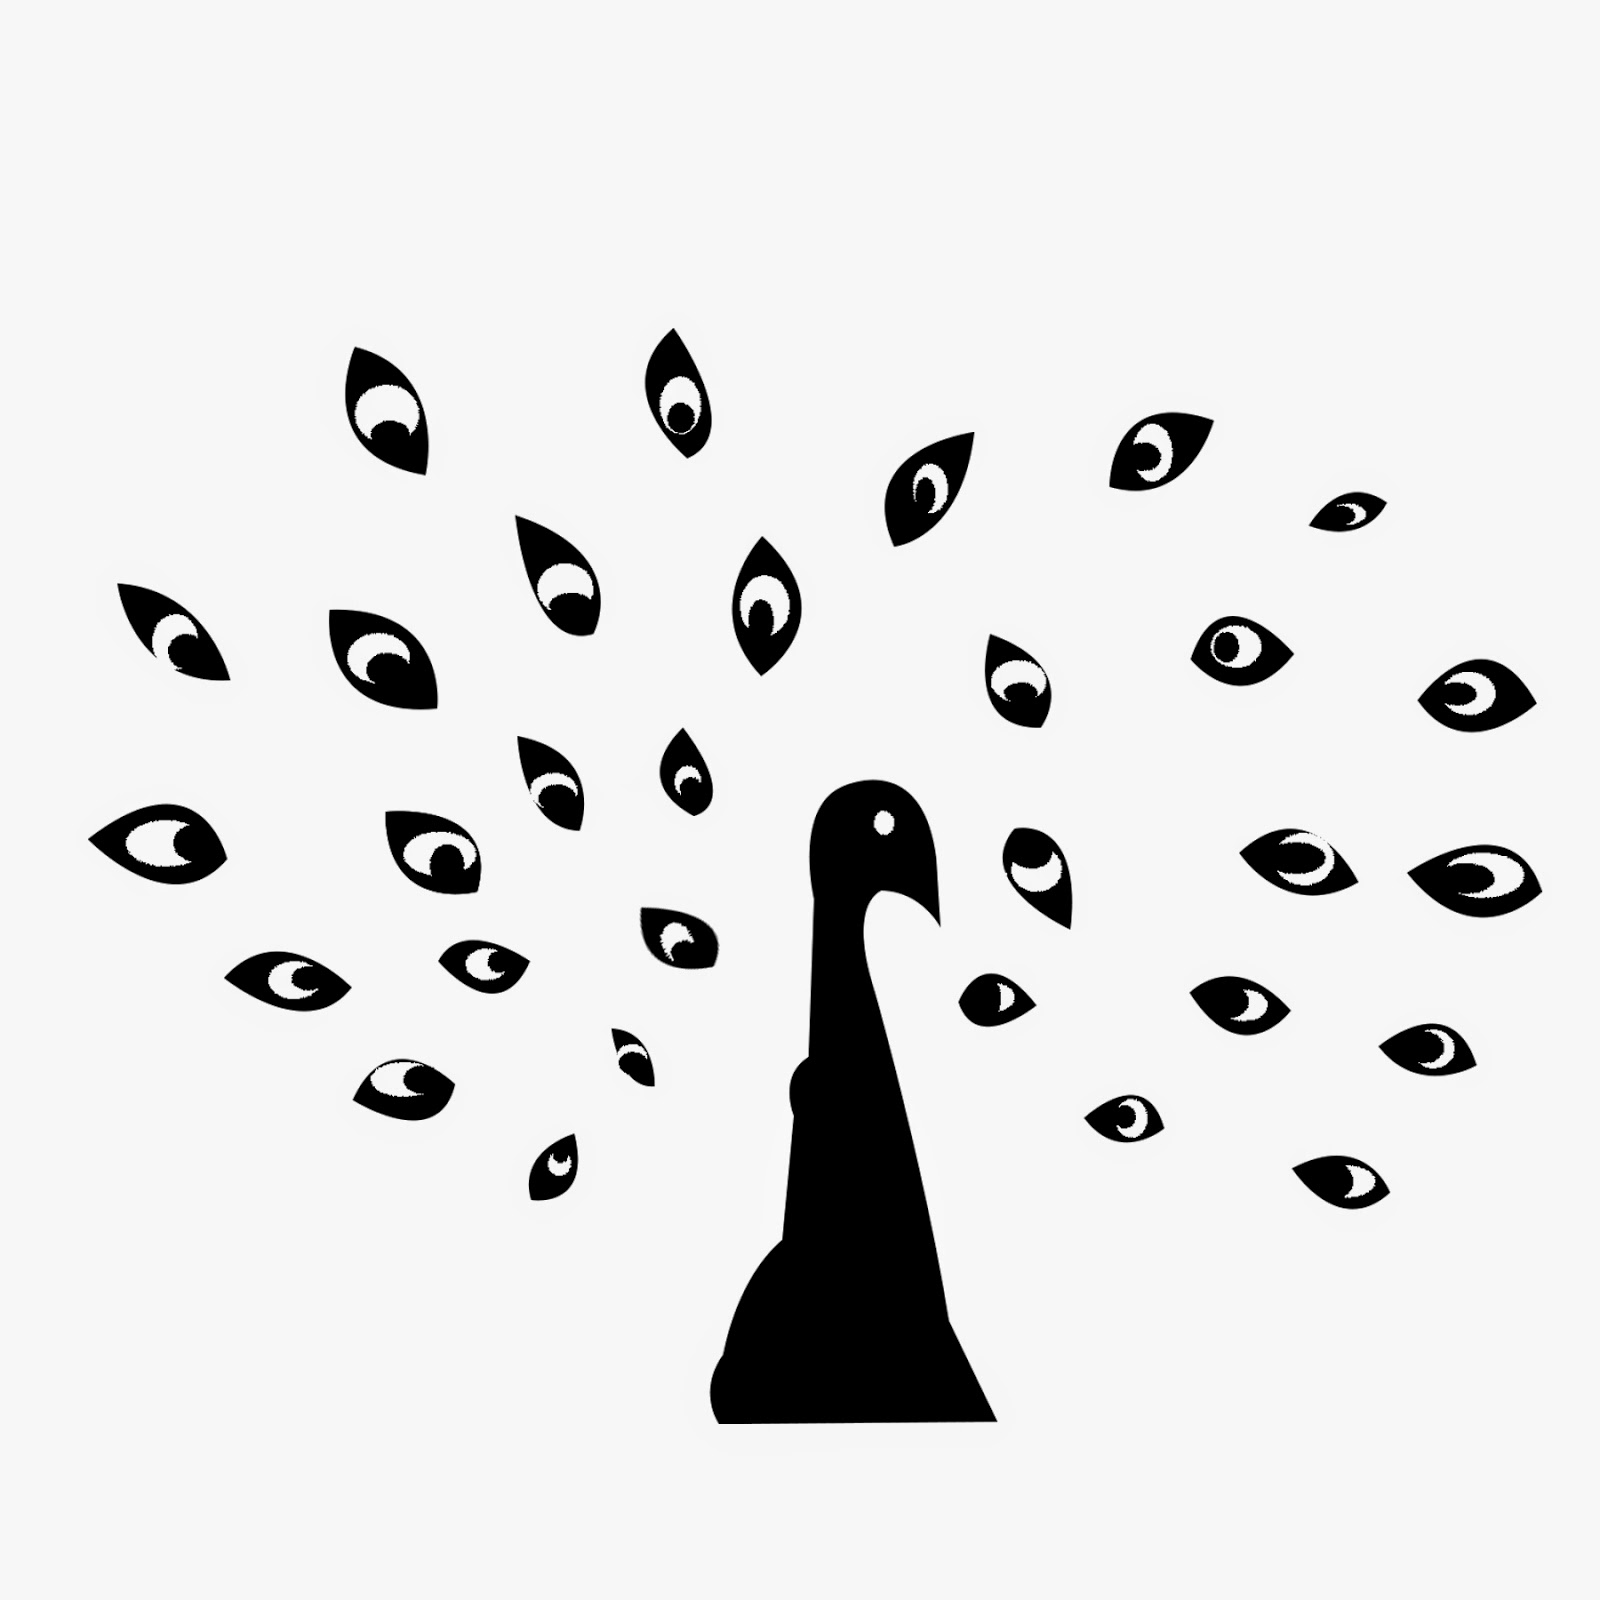
You can clearly see a peacock in the image above. It is a collection of similar shapes that make up the plumage of the peacock surrounding a simple bird-shape in the center. We perceive the eye-shaped figures as part of the same whole. In reality they differ in shape and size, but are similar enough to trick our brain. We understand it is supposed to be feathers, because that is the simplest visual interpretation of the picture. Here are some more examples:


The law of symmetry
Symmetrical elements (equal on both sides of an axis) are perceived as part of the same group. Symmetry is perhaps the most relatable visual technique, as we see examples of it every day. The brain loves symmetry, because it represents simplicity and harmony. The law of symmetry shares traits with the law of similarity. We perceive visual objects that are symmetrical as part of a group.

The olympic rings in the image above is a good example of symmetry. This classic logo is symmetrical and therefore is very pleasing to the eye. The law of symmetry tells us that the symmetrical nature of the shapes is the reason that our brain groups them together. Here are some other examples:

The law of continuity
Elements in a picture are visually associated if they are aligned with each other. The law of continuity states that visual elements are perceived as a single figure as long as they are continuous. The human brain tends to perceive a line continuing its established direction until it hits another object.

In the image above, the lines are perceived to be a part of the same unified whole, because the lines travel in the same direction. This concept is widely used in web design, graphic design and other forms of art. We can guide the eye by using the principle of continuity. Here are some other examples:


The law of regularity
We tend to relate visual elements that form a regular pattern more often together than patterns which are randomly structured. The law of regularity is similar to the law of similarity. But whereas an image using similarity can still be perceived as connected even though the shapes are arranged randomly. The connection is however stronger if the image is using design elements with regularity.
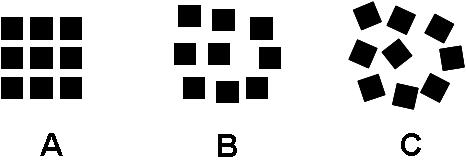
All of the images above are perceived as being part of the same unified shape. But the one with the strongest connection is A. This makes the shape the easiest to visually interpret. The repetition of a shape other design elements are used to create a pattern. This is the law of regularity. Here are some more examples:


The law of common fate
When shapes, structures and figures move in one direction, we perceive them as grouped together and related to each other. The human eye is instantly drawn to objects that seemingly move in the same direction with the same speed, with a «common fate» so to speak. This principle can be used to guide eye of the viewer where you want it. You can use different shapes and sizes as long as they share a common fate and travel in unity.
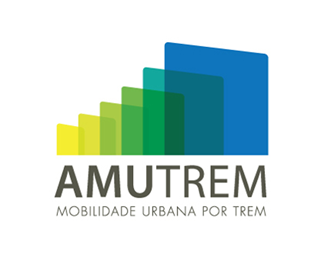
The logo above is uses the law of common fate in a good way. The logo is just a collection of tilted squares. But because they are moving in the same direction, we perceive them as being part of the same group. Here are some other examples:


The law of figure/ground
When we look at an image, usually we will perceive the foreground first. If you separate the figure in a picture from the background, the resulting shape stands out from the background and is perceived as such. With this knowledge, we can create images that combine two or more structures.

In the image above, we will most naturally perceive three forks. But after looking at the picture longer, we will also see that the background is comprised of wine bottles. Our brain chooses which to focus on, as it can’t focus on both. Here are some more examples:


Illustration number 1: The law of proximity
This was the idea I developed first, and the first illustration I completed. After reading about this design principle, I wanted to use it to make a simple and minimalistic poster for a movie. I envisioned I could make a huge balloon out of other smaller balloons, like in the Pixar-movie «Up». The thing most people remember from the movie is the main characters house being lifted up by thousands of balloons. So I wanted to use that image of the house being connected to many small balloons. My idea was that the individual balloons would be grouped together and the law of proximity would make it look like a giant balloon. This would make a simple but effective image, because the circle is perhaps the most used shape in design.
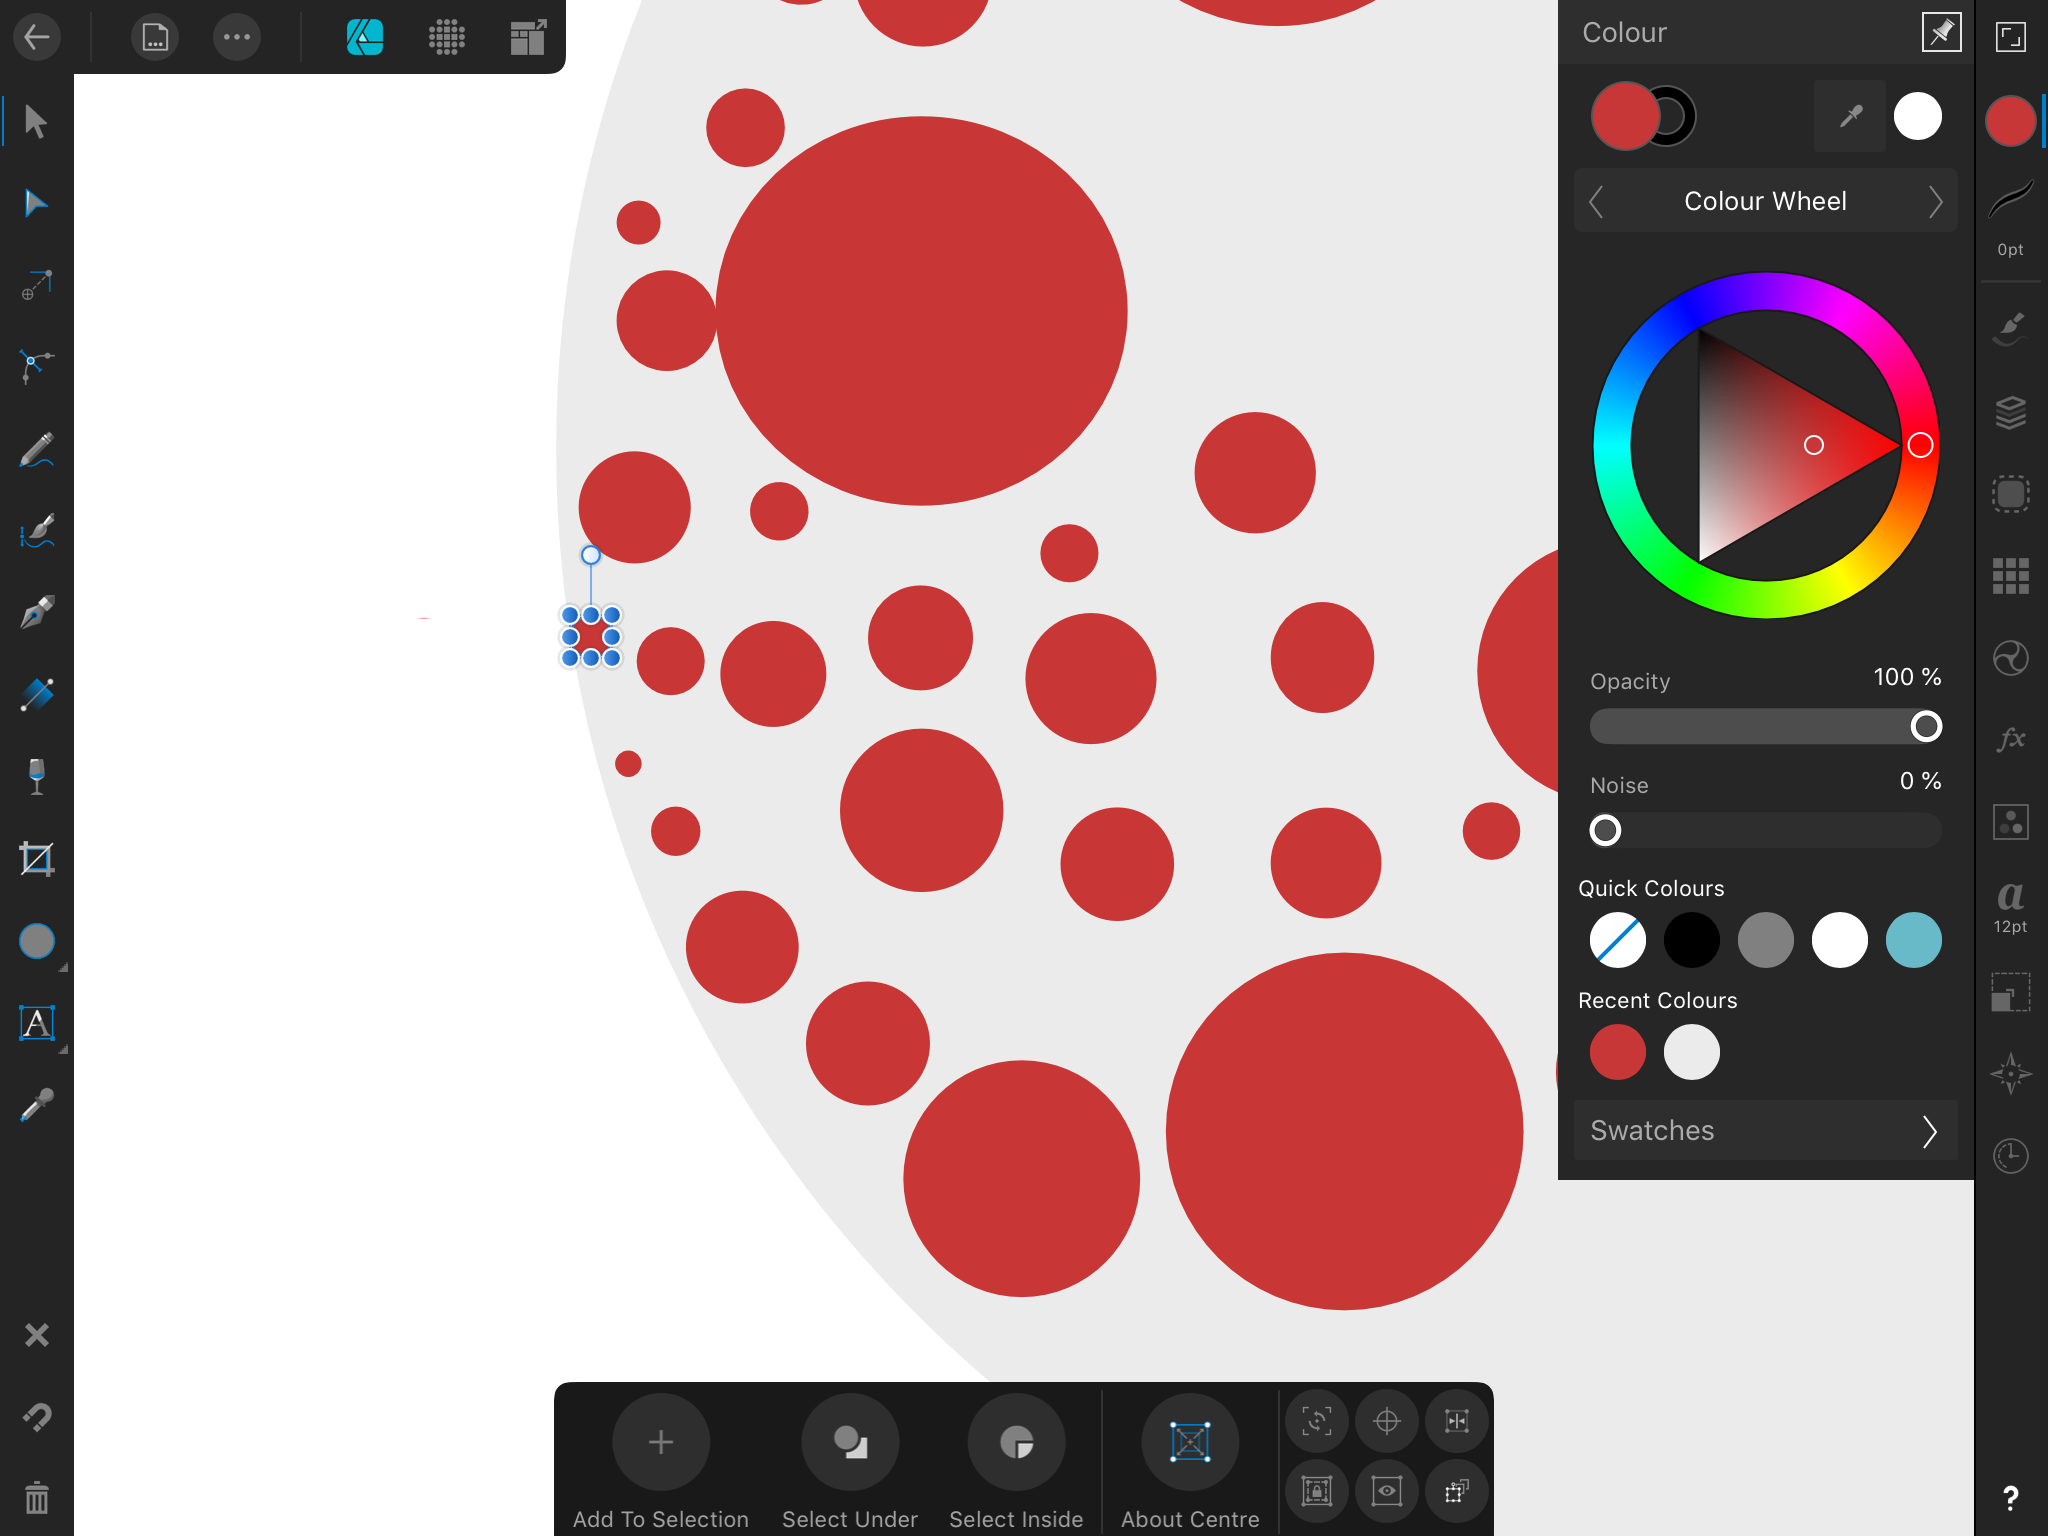
I created a quick sketch in affinity designer on my iPad, just to see what the image would look like. I liked the overall look of the image, but I figured I could mix two or three colors together to make it look even more like a collection of balloons.

As you can see, I made an image in illustrator with circles in various sizes. This way I could easily follow the lines when cutting. I used my HP-printer and printed out a sample with red color on white A4 paper. I wasn’t happy with the result as I felt the color difference was too great, and the circles looked more orange than red.
I chose to instead buy some colored paper and use that. That way I knew the colors at least would be correct. I printed the same collection of circles with just the stroke on both blue and red A4 paper. I then started to cut out the circles with a scissor.

This took quite some time and it was hard to make the circles perfectly rounded. It would probably been easier to draw and color directly on the 25x25cm paper. Still I wanted the colors to be crisp, I felt that I would achieve this better with colored paper than color-pencils or markers. Also, having the physical circles on the paper, I could easily move them around and change which circle went where. While trying different arrangements, I strayed from my original idea of the movie poster and instead wanted to make a simple hot air balloon. So it was the same basic idea with a few minor differences.

The final image:

Illustration 2: The law of similarity
For this illustration, I was inspired by the picture of the statue of liberty that was featured on creative bloq website we were urged to check out in our brief. After seeing the image, I immediately thought of recreating an image of a celebrity in the same style. It had to be a celebrity that had an iconic and famous silhouette, and that would be easy to recognize. I drew inspiration from pop art, most notably Andy Warhols three Elvis artwork. So I wanted to create an image of Elvis using the principle of similarity. My idea was to use a number of diamond shapes to create a sort of mosaic, and place similar shapes close together. This way I could use the negative space inside the pattern for the contour of the body. I started by making a pattern of diamond shapes in photoshop as guides for cutting.

I then cut out the diamond shapes with a scissor. This was probably not the most efficient way to do it, because it took a really long time. I tried to speed up the process by stacking the cut-outs on top of each other and then cutting all of them in the diamond shape simultaneously. This was faster, but made some of the diamonds look messed up. At this point I had invested so much time and effort into this method that I figured I probably should just continue.

After I had cut out most of the small diamonds, I started to arrange them along the cut-out image of Elvis I was using as a guide. I thought about using glue to stick the shapes into specific spots on the 25x25cm paper, but I figured I would rather have the freedom of movement in case I wanted to change any of the shapes’ positions. I chose to print out the shapes on pink-colored A4 paper. The reason for this is I thought it was a pleasant and eye-catching color that would be appropriate for the pop-art look I wanted.

After I had arranged the shapes, I took a photo with my cellphone and uploaded it to my computer. I wasn’t happy with the quality of the photo, so I used photoshop to tweak brightness, contrast and some other things. I also changed the color values of some of the diamonds in photoshop. This was because I liked the look of it, and wanted to use both color and size to emphasize the shapes.
I guess we weren’t supposed to use photoshop in this task, but I didn’t edit much, and I still kept the DIY-look that working with physical materials gives you. I would rather have made the whole image with vectors, but at least the assignment made me think differently and that made it interesting.
The final image:

Illustration 3: The law of pragnänz
This illustration was the one I finished last, and it was also the one I spent the least amount of time on. Not because I was tired of the assignment, but rather the idea and form of the image was so easy to complete. The law of pragnänz states that our brain will always take the path of least resistance. So it will want to make sense of an image in the simplest way possible. I figured by using this law, I could make a simple object that look like something else. My idea was to have cut out colored paper and place shapes of white paper on top of the colored paper. The objects would in reality be random, but the arrangement would make them look like a shape. I chose to go with letters of the alphabet, because they are so easy to read visually because we see and use them every single day.

So I cut out three purple in the same colored paper I had used for the other two illustrations. Then I cut out a bunch of shapes in white paper and placed them on top of the purple cut-outs. I cut out some white shapes so I could make simple images of the letters «A» «B» and «C».

After I had uploaded the picture, I just digitally removed some dots and blotches which were distracting. I also upped the contrast a little to make the purple color pop a little bit more.
The final image:

Methods
For the illustrations, I used basic cutting methods. After I had measured and marked 25x25cm on an A3 sheet of paper, I continued with cutting the shapes with regular kitchen scissors. The problem was that the cutting felt imprecise and looked kinda janky. I tried my best to cut the lines as precisely as I could, but I felt the result was sub-par. This is why I chose to fix the outer edges of the 25x25cm paper in photoshop after I had uploaded the pictures.
I don’t really use sketches, as most of my ideas are based on vague concepts I form and develop in my mind. I love to see different projects develop in ways I didn’t expect. Making art is an organic process for me, so I don’t usually plan everything in minute detail before I start working. This is something I am nervous about in this course, as I know most designers sketch rigorously. But I just wanted to say I understand the value of sketching, I just don’t work that way. At least not in this assignment.
Color-wise I wanted to use the most basic colors, so I used the primary colors red and blue and different hues of these, pink and purple. The colors looked decent after I had uploaded the pictures to my computer, but the white sheet of paper was looking really grey and ugly. I didn’t edit it much, I just tweaked some levels to make the paper look a little bit more white and pleasing. I kept the shadows on some of the paper objects, as I felt It added to the hand-made quality and kitschy style of the images.
Using only traditional crafting materials like paper proved a harder challenge than I anticipated. I was never any good at using scissors and using my hands. I still prefer using my computer which I feel is more forgiving when it comes to my way of working, which is more trial and error based. Still, in the end I am happy with the result and will definitely think about using similar methods in future assignments.
Moodboards
Illustration 1:

Illustration 2:

Illustration 3:

Sources
http://changingminds.org/explanations/perception/gestalt/regularity.htm
https://www.canva.com/learn/gestalt-theory/
https://www.smashingmagazine.com/2016/05/improve-your-designs-with-the-principles-of-closure-and-figure-ground-part-2/
https://www.creativebloq.com/graphic-design/gestalt-theory-10134960
https://en.wikipedia.org/wiki/Gestalt_psychology#Pr%C3%A4gnanz
http://joebaraban.com/blog/the-law-of-common-fate-in-the-psychology-of-gestalt/

Legg igjen en kommentar